Tips to Taking your Room Picture
Before You Photograph
Cell phone cameras have come leaps and bounds over the years. Modern smart phones take great photographs, so feel free to use your phone’s camera when taking a picture of your room.
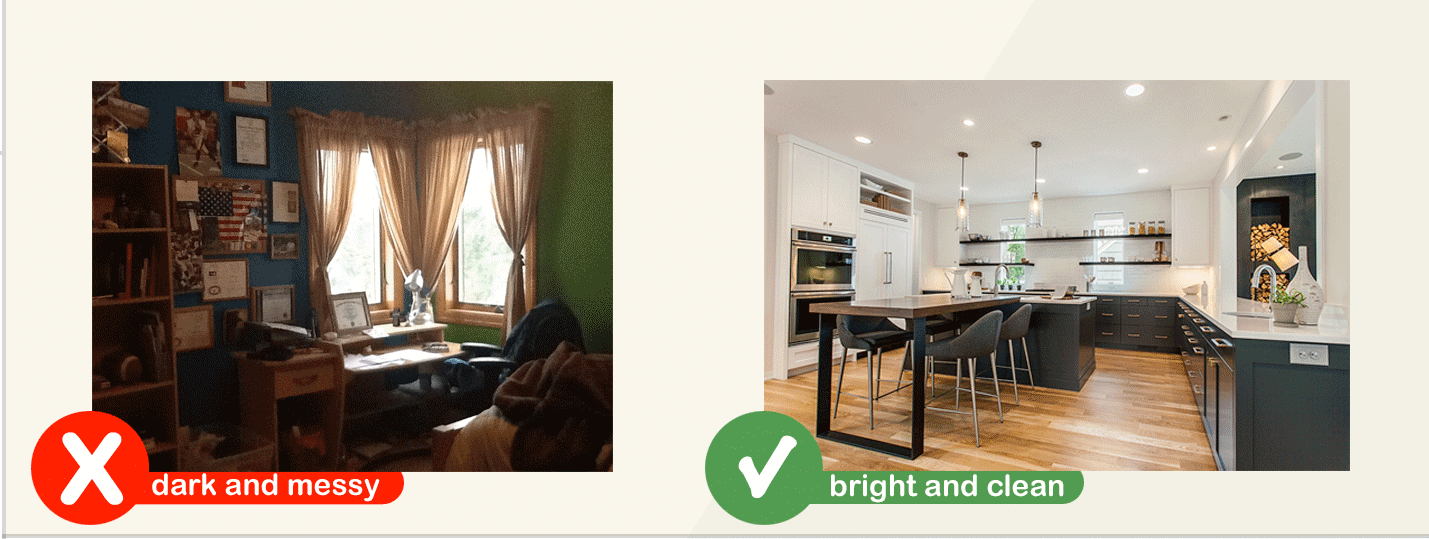
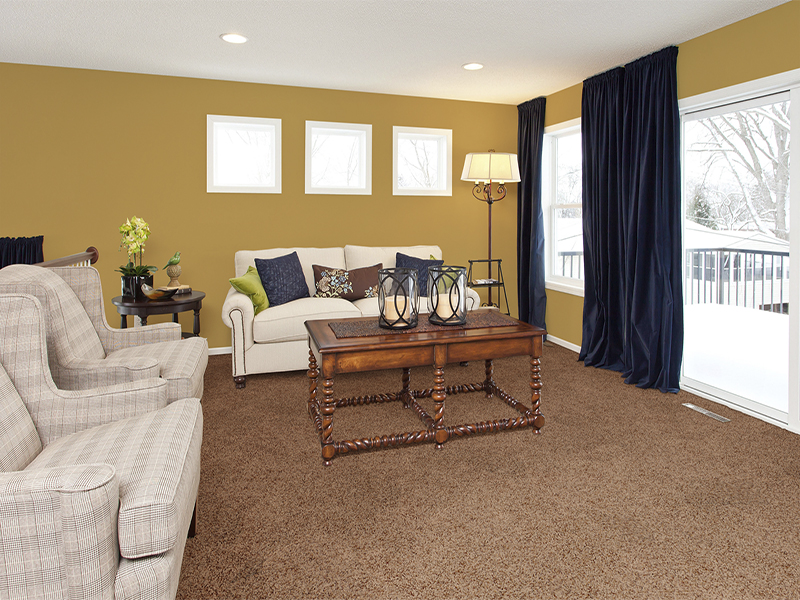
First, you’ll want to properly set up your room, make sure to show off the space; not what’s in it. The room you’re photographing should be clean, clearing out distracting items such as toys and clutter, leaving decorative items that will be in the room even after the makeover. Plants and decorative flora can get in the way of the seeing all the features, removing them makes for a better visualizer experience.
While You Photograph
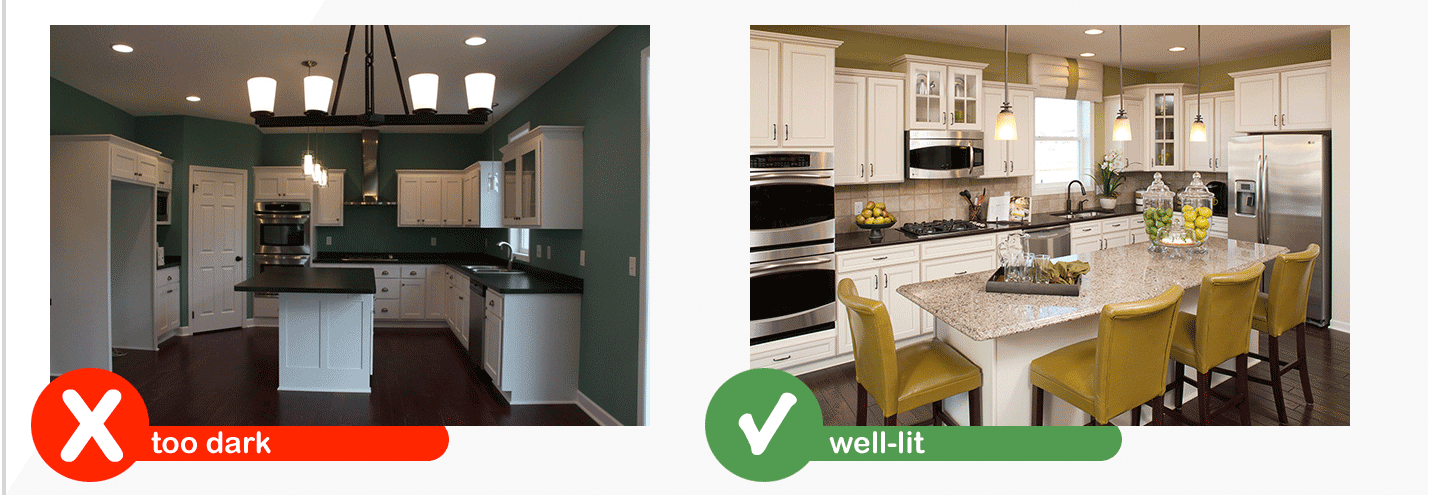
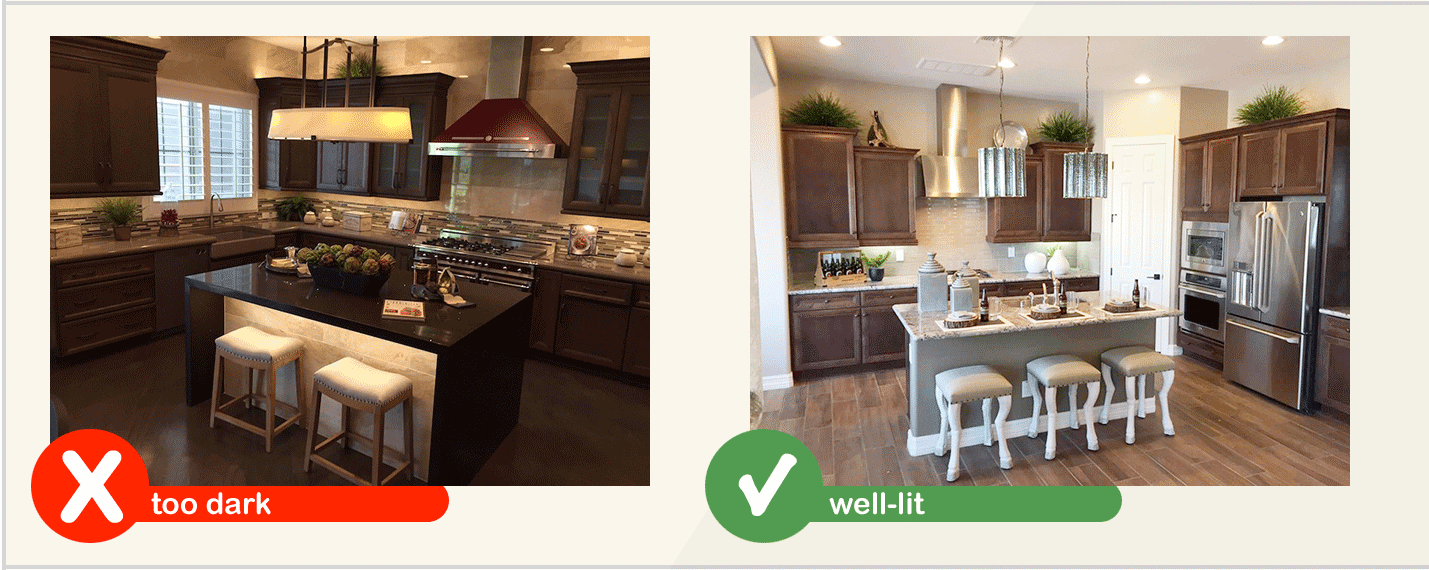
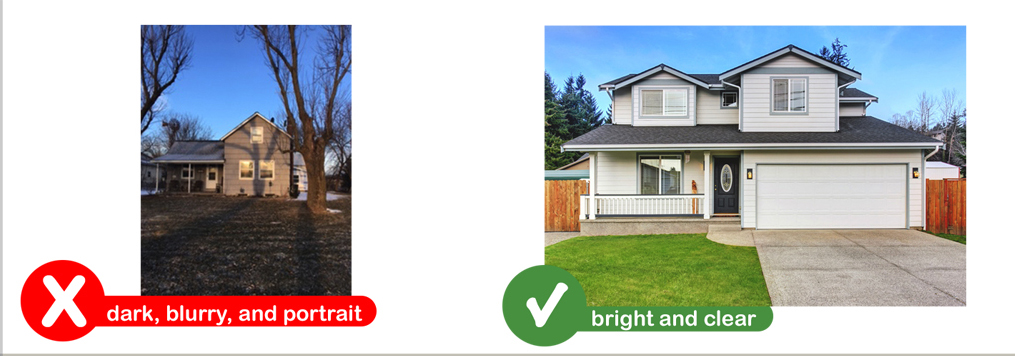
Use as much natural light as possible. Open the curtains and/or blinds to allow the sunlight in to brighten the room. If the room is still a little too dark, turn on the lights.
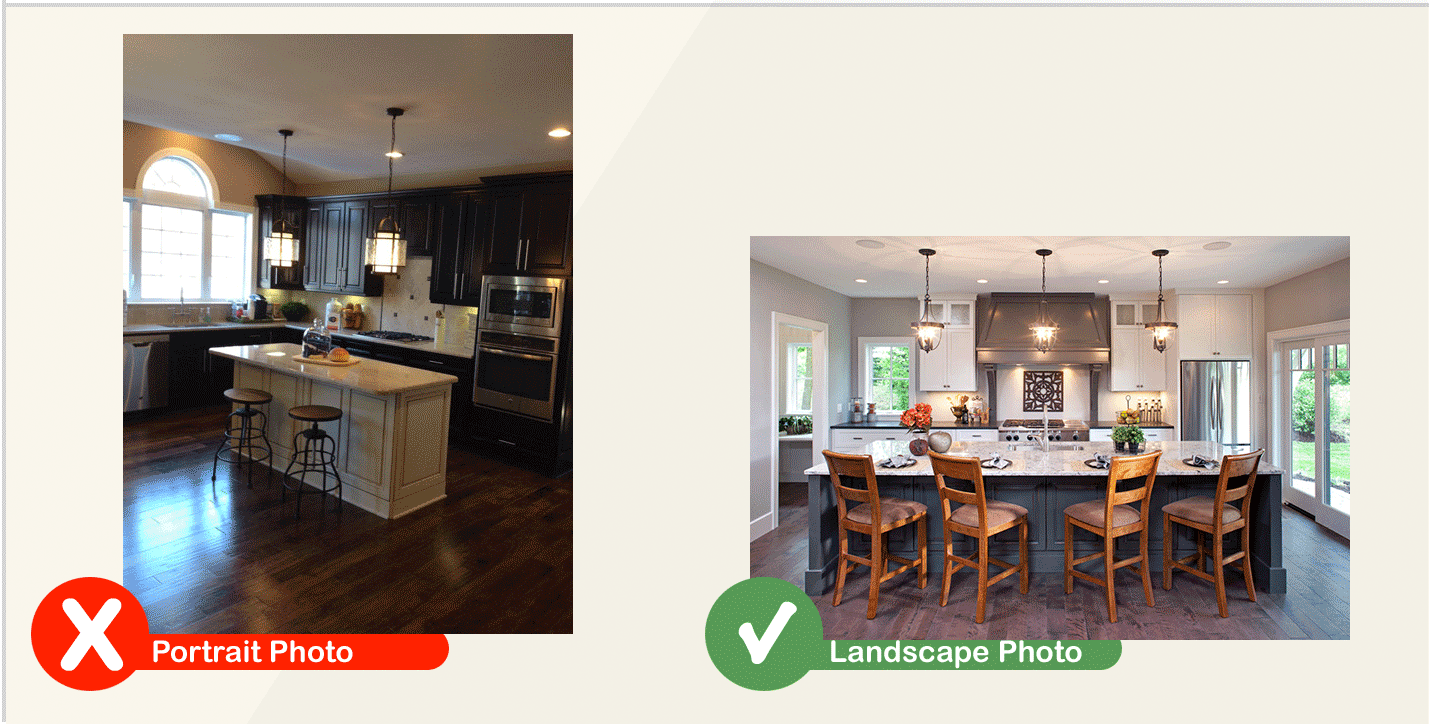
Try to take a landscape photograph. Portrait (or tall) photographs often don’t show enough of the living space, unless photographing smaller rooms such as bathrooms.
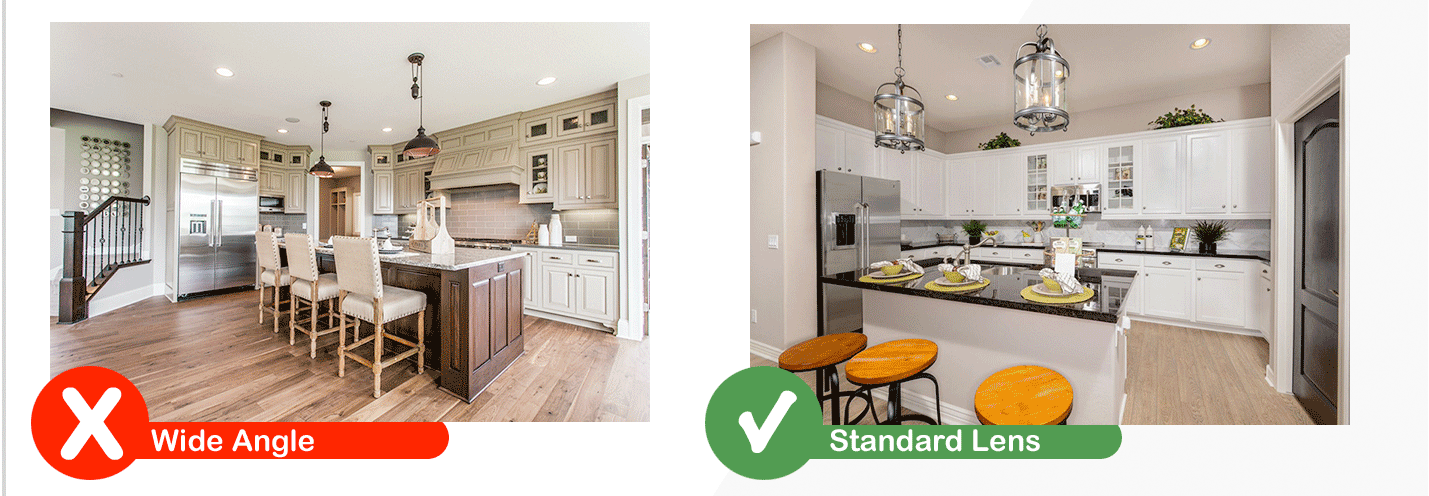
Avoid taking wide-angle photos as they will distort the features of a room and affect the final output of the Flooring Designer.
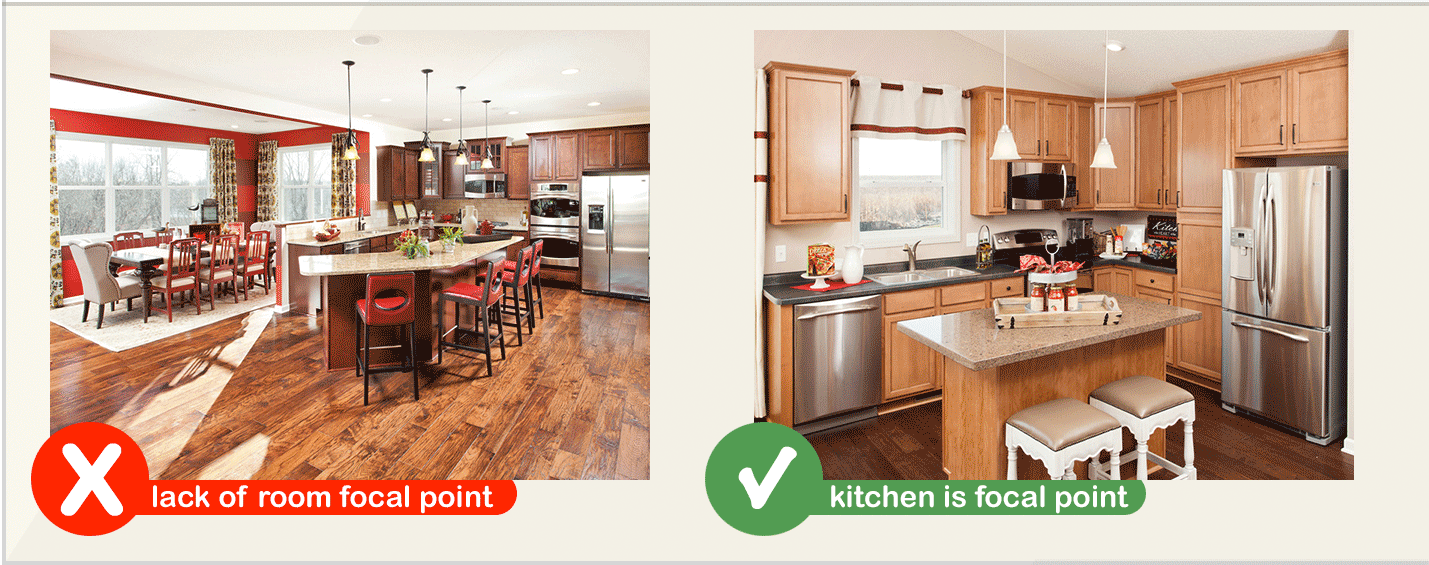
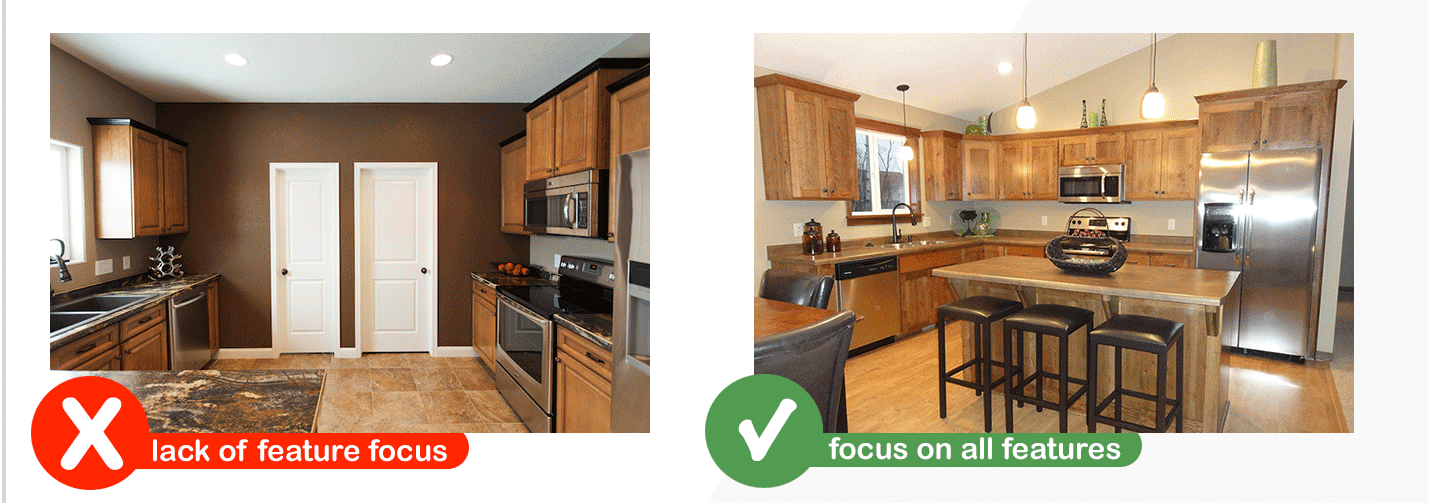
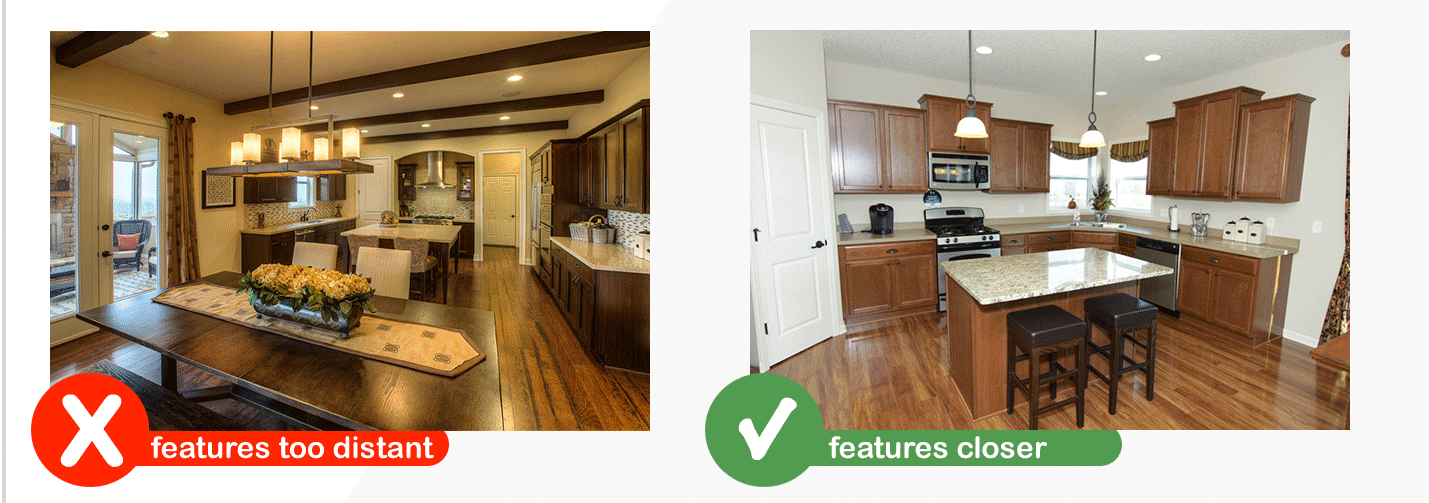
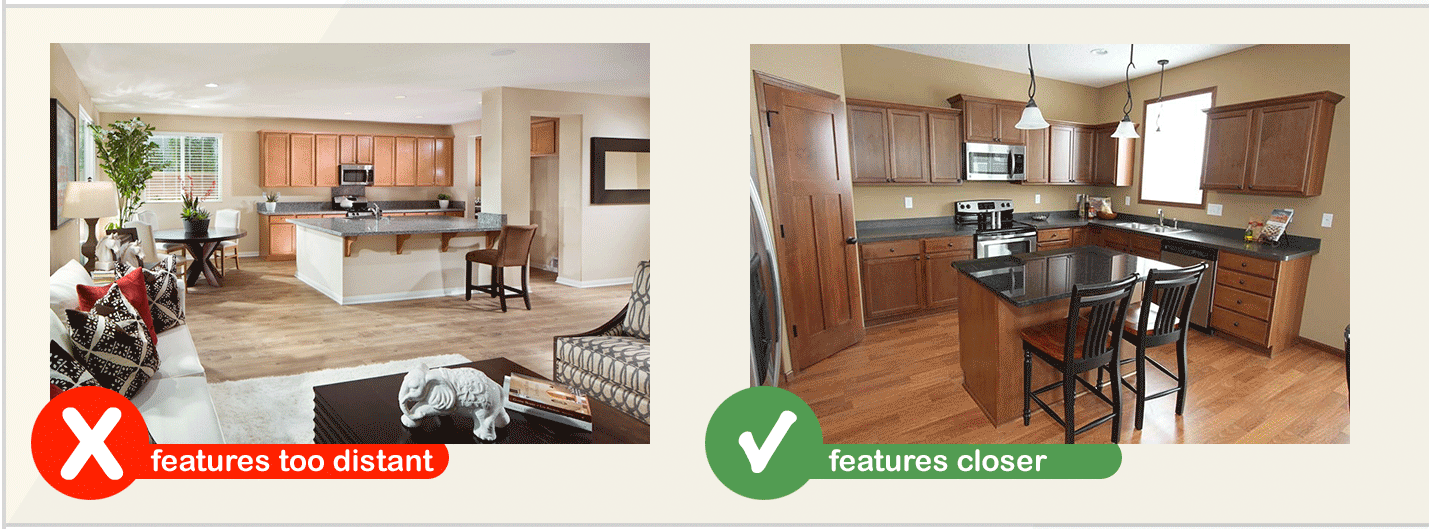
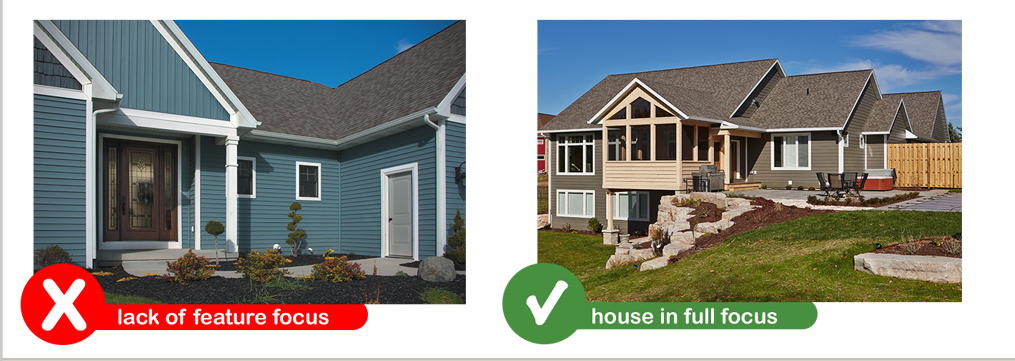
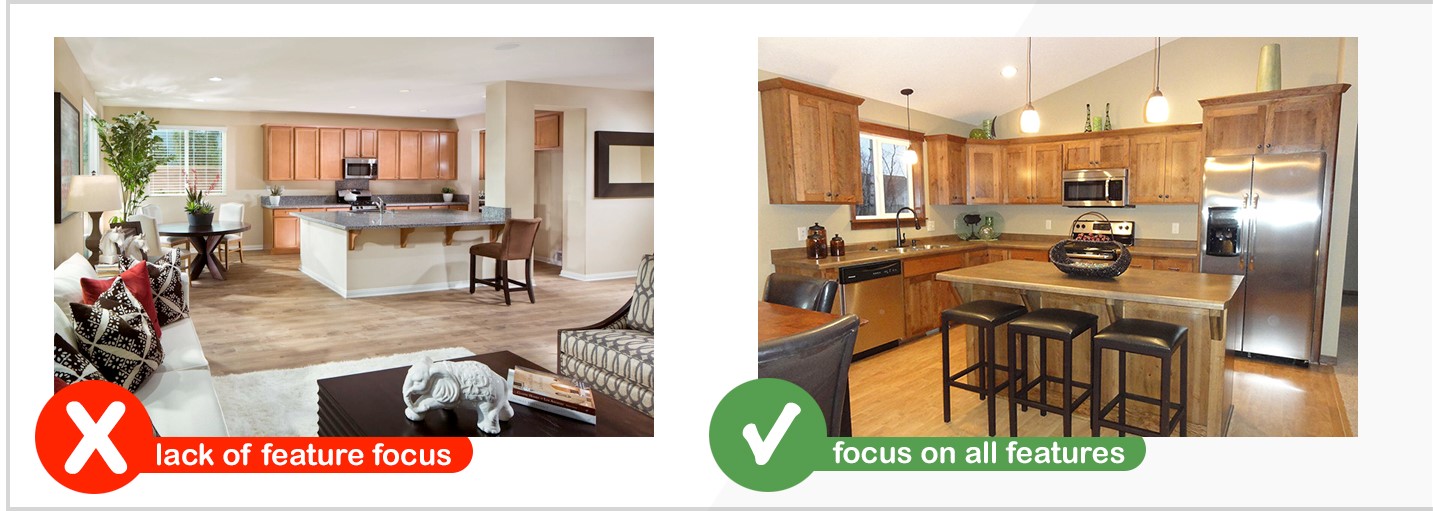
Focus the camera toward the features of the room. The idea isn’t to get a close-up of one particular feature, but to try to get the whole room in focus. This is beneficial in two ways: 1) to see how our interactive features will look against the current features of your home, and 2) to see how all of the interactive features will look together.
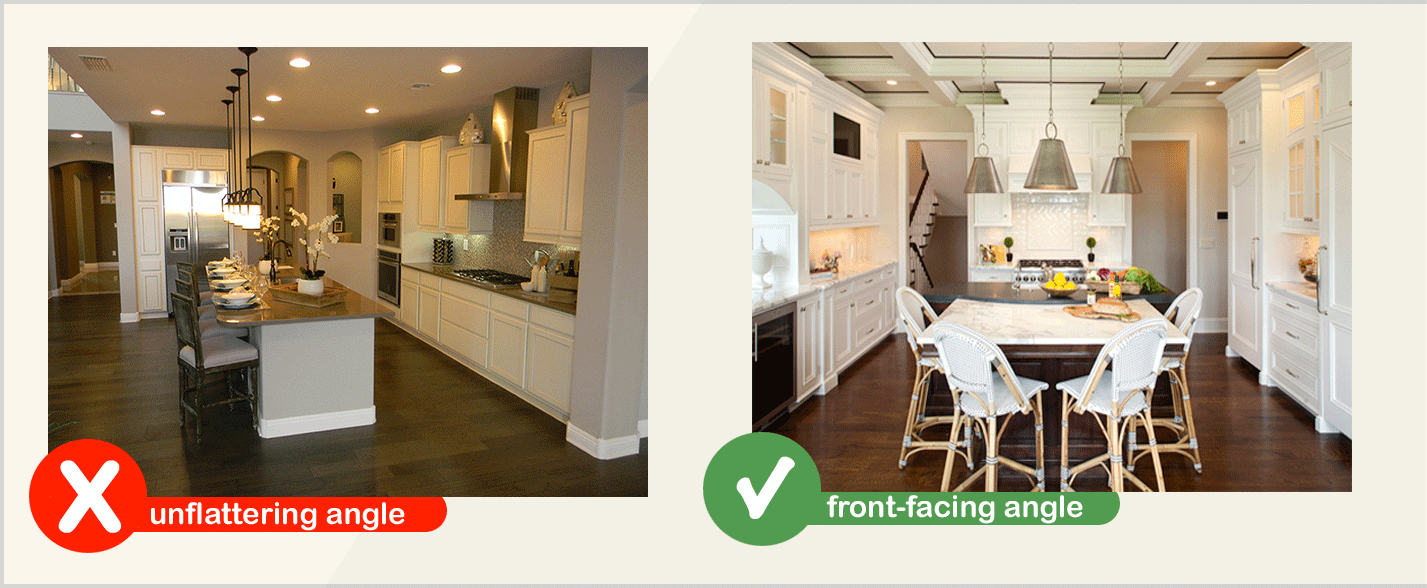
Lastly, try to angle the shot of your photograph so the floorboards or tile are straight on and not at a angle. This step isn’t required, but often leads to a more flattering photograph. If the straight-on angle doesn’t show off the living space to your liking, feel free to adjust.
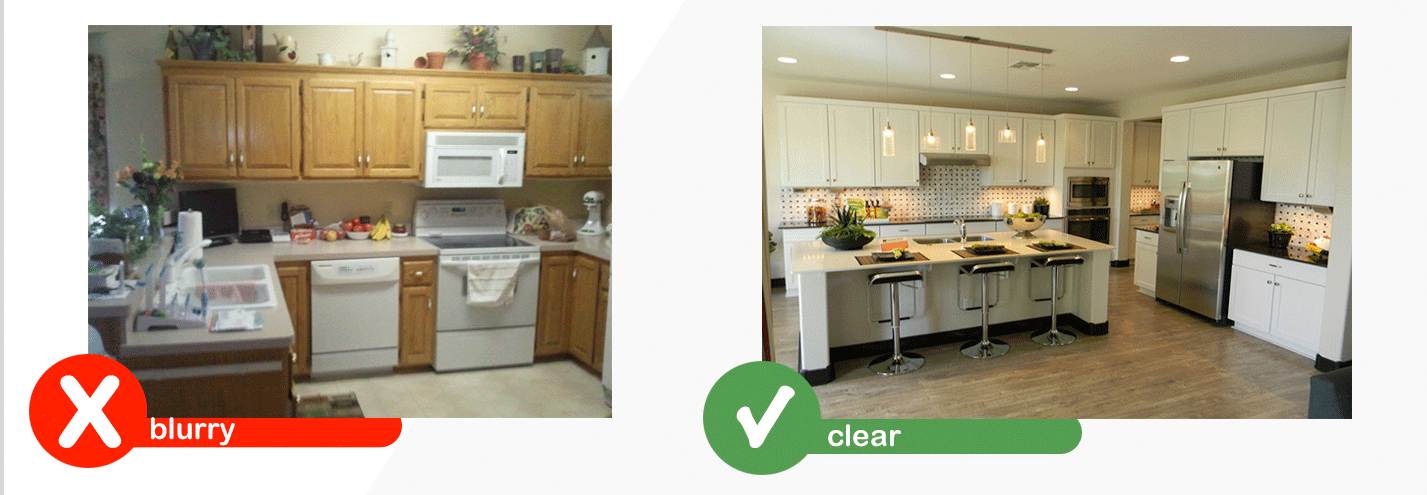
In the end, we’ll process any photo, but do your best to avoid dim lighting, blurriness, and pixelation within the photograph.
